6 Test Editor#
The test editor allows the user to adjust and create tests according to the user-specific needs.
Editor Toolbar#
The Test editor toolbar provides the basic interactions to open, save and reload tests. Furthermore, the script syntax can be checked.
| Icon | Description |
|---|---|
| Save test (Shortcut: Ctrl + S) | |
| Update tests in currently open project | |
| Load an image as a new test image | |
| Script code syntax check |
Table: Test Editor - Toolbar
Properties#
The tab contains the main properties of a test, including test type, category, description that are displayed in the test picker.
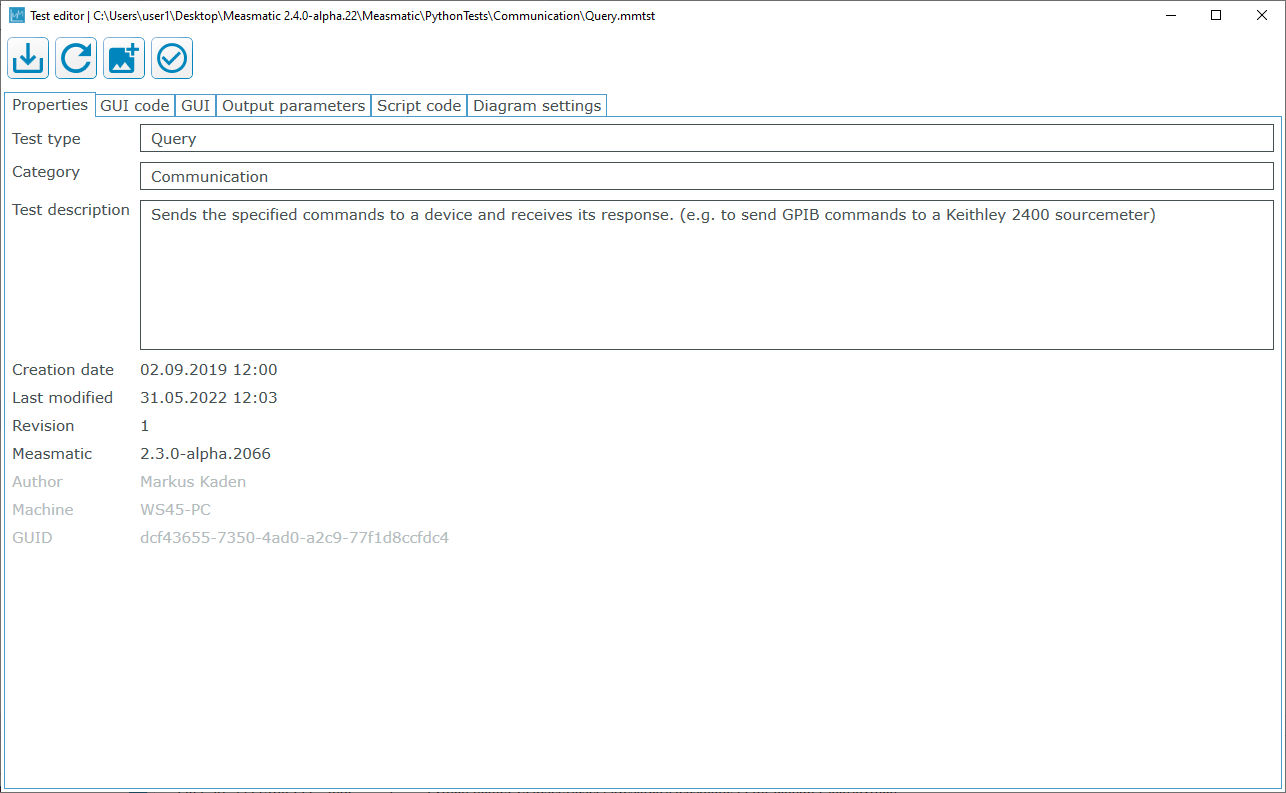
Test Editor: Properties
GUI code#
The tab contains the code of the test GUI. The code is written in XML and can be edited.
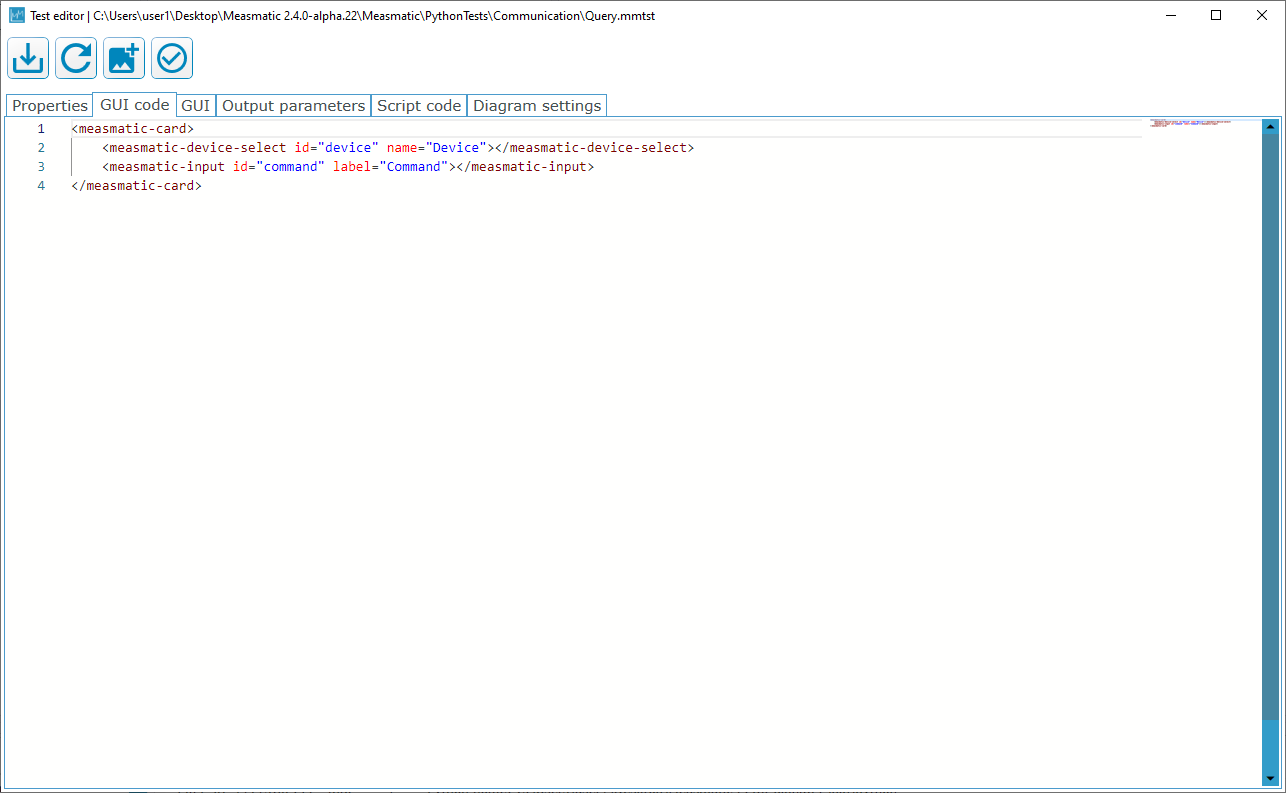
Test Editor: GUI Code
GUI#
The tab shows the test GUI. The appearance of the GUI is defined in the XML GUI Code.
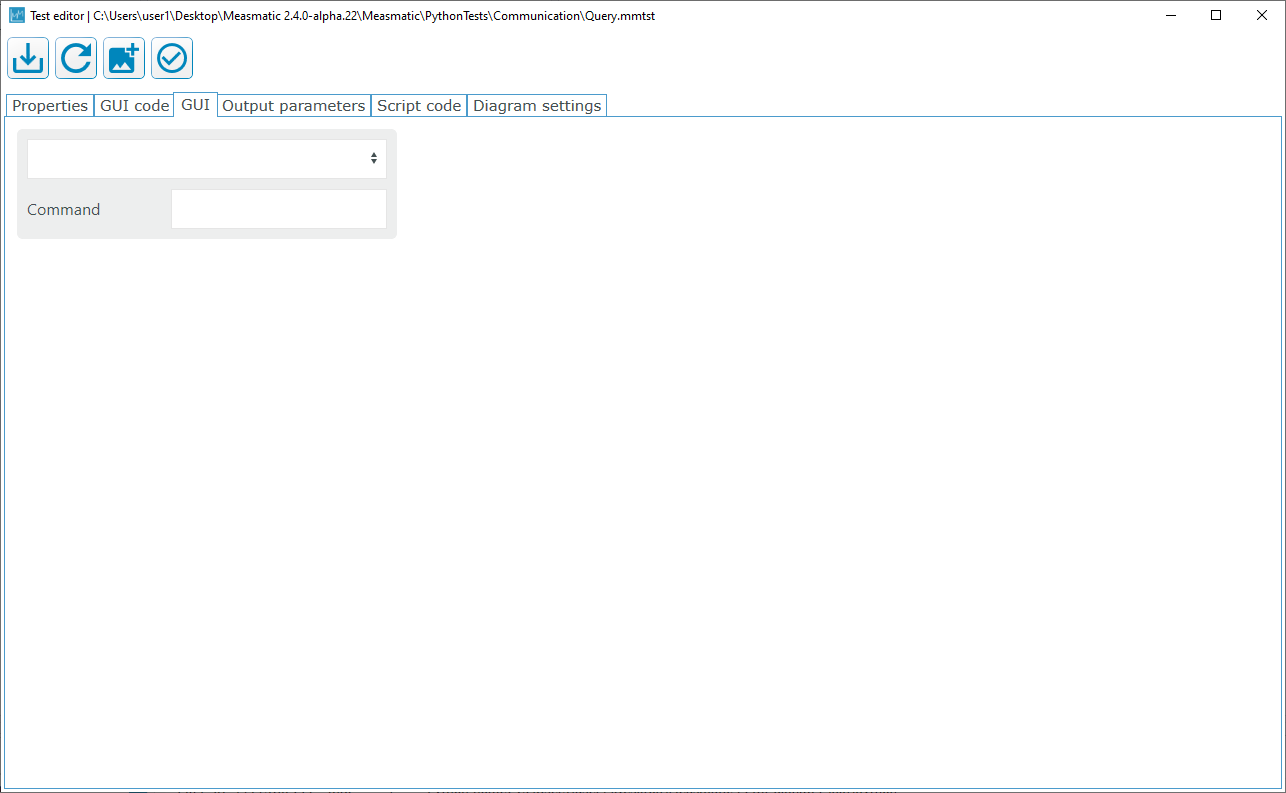
Test Editor: GUI
Output parameters#
The tab contains all test output parameters. Parameters can be added, deleted and sorted via the buttons described in the following table.
| Icon | Description |
|---|---|
| Add new parameter | |
| Remove parameter | |
| Move parameter up | |
| Move parameter down |
Table: Output Parameters - Toolbar
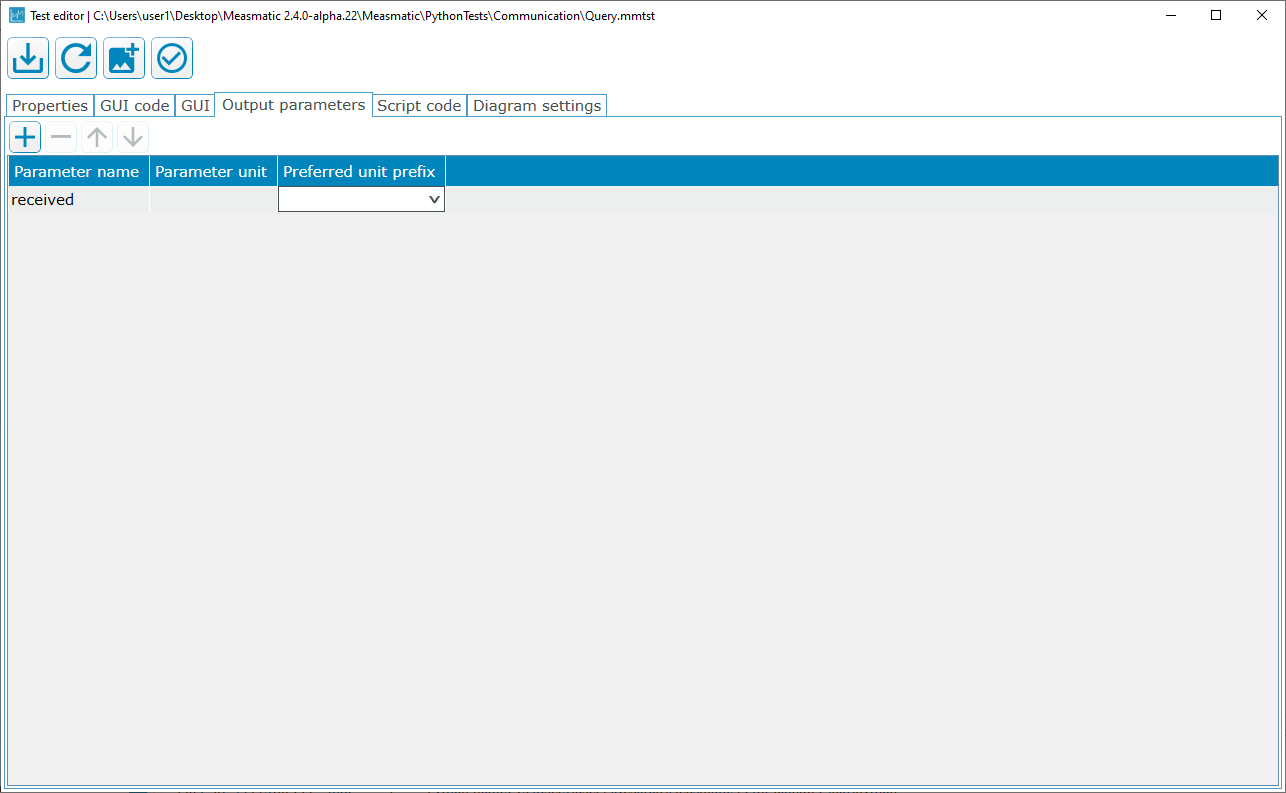
Test Editor: Output Parameters
Script code#
The tab contains the script code for the measurement setup of the intended measurement devices. The view is split into two areas. In the upper part, all variables are defined, whereas the lower part defines the SMU setup and measurement.
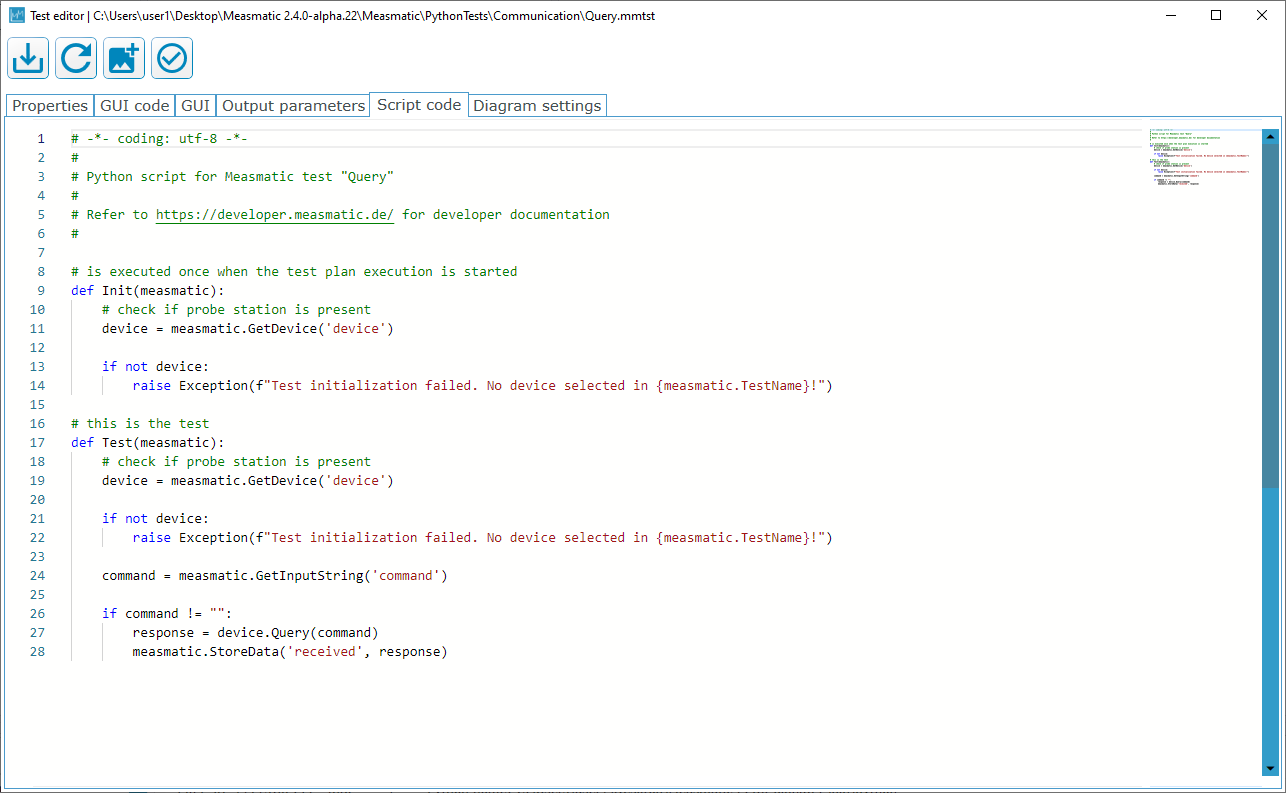
Test Editor: Script Code
Diagram settings#
The tab contains the default diagram settings for the test. The default color scheme can be specified together with the error band values for X/Y (in %).
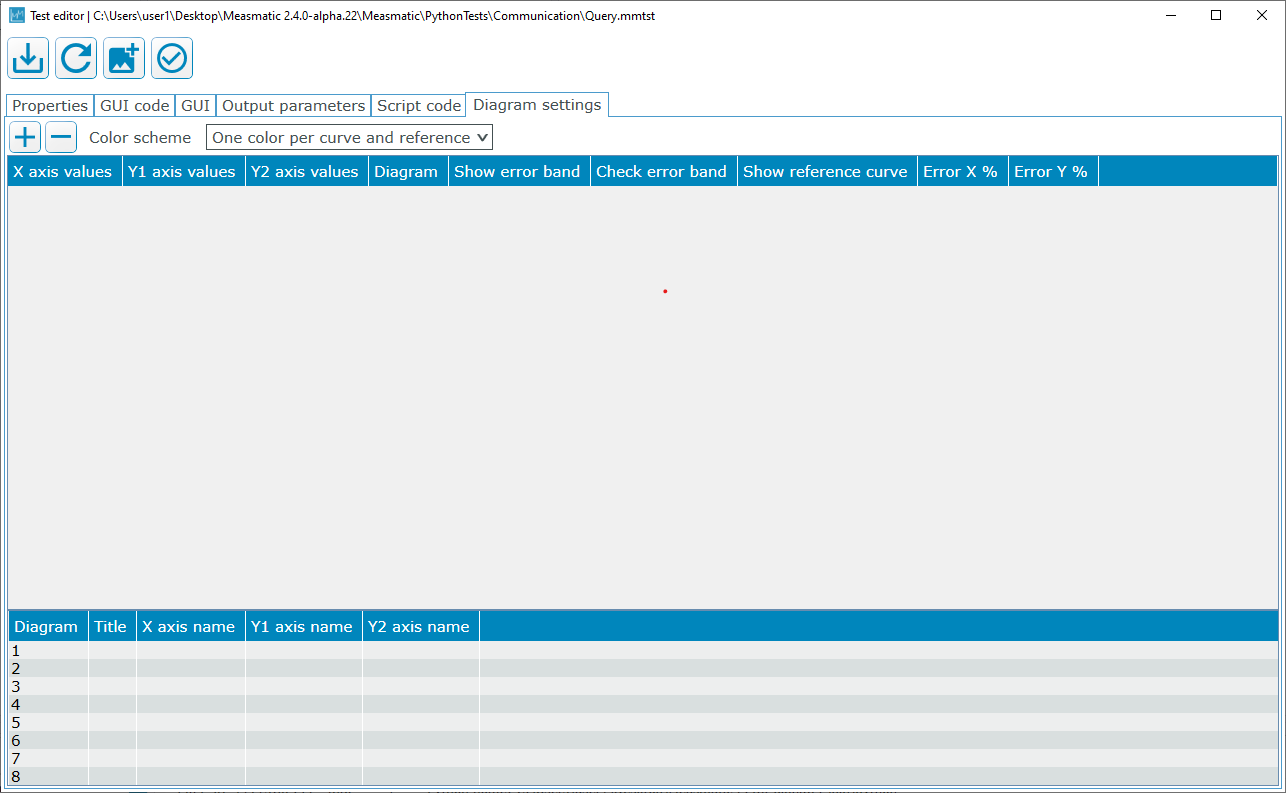
Test Editor: Diagram Settings